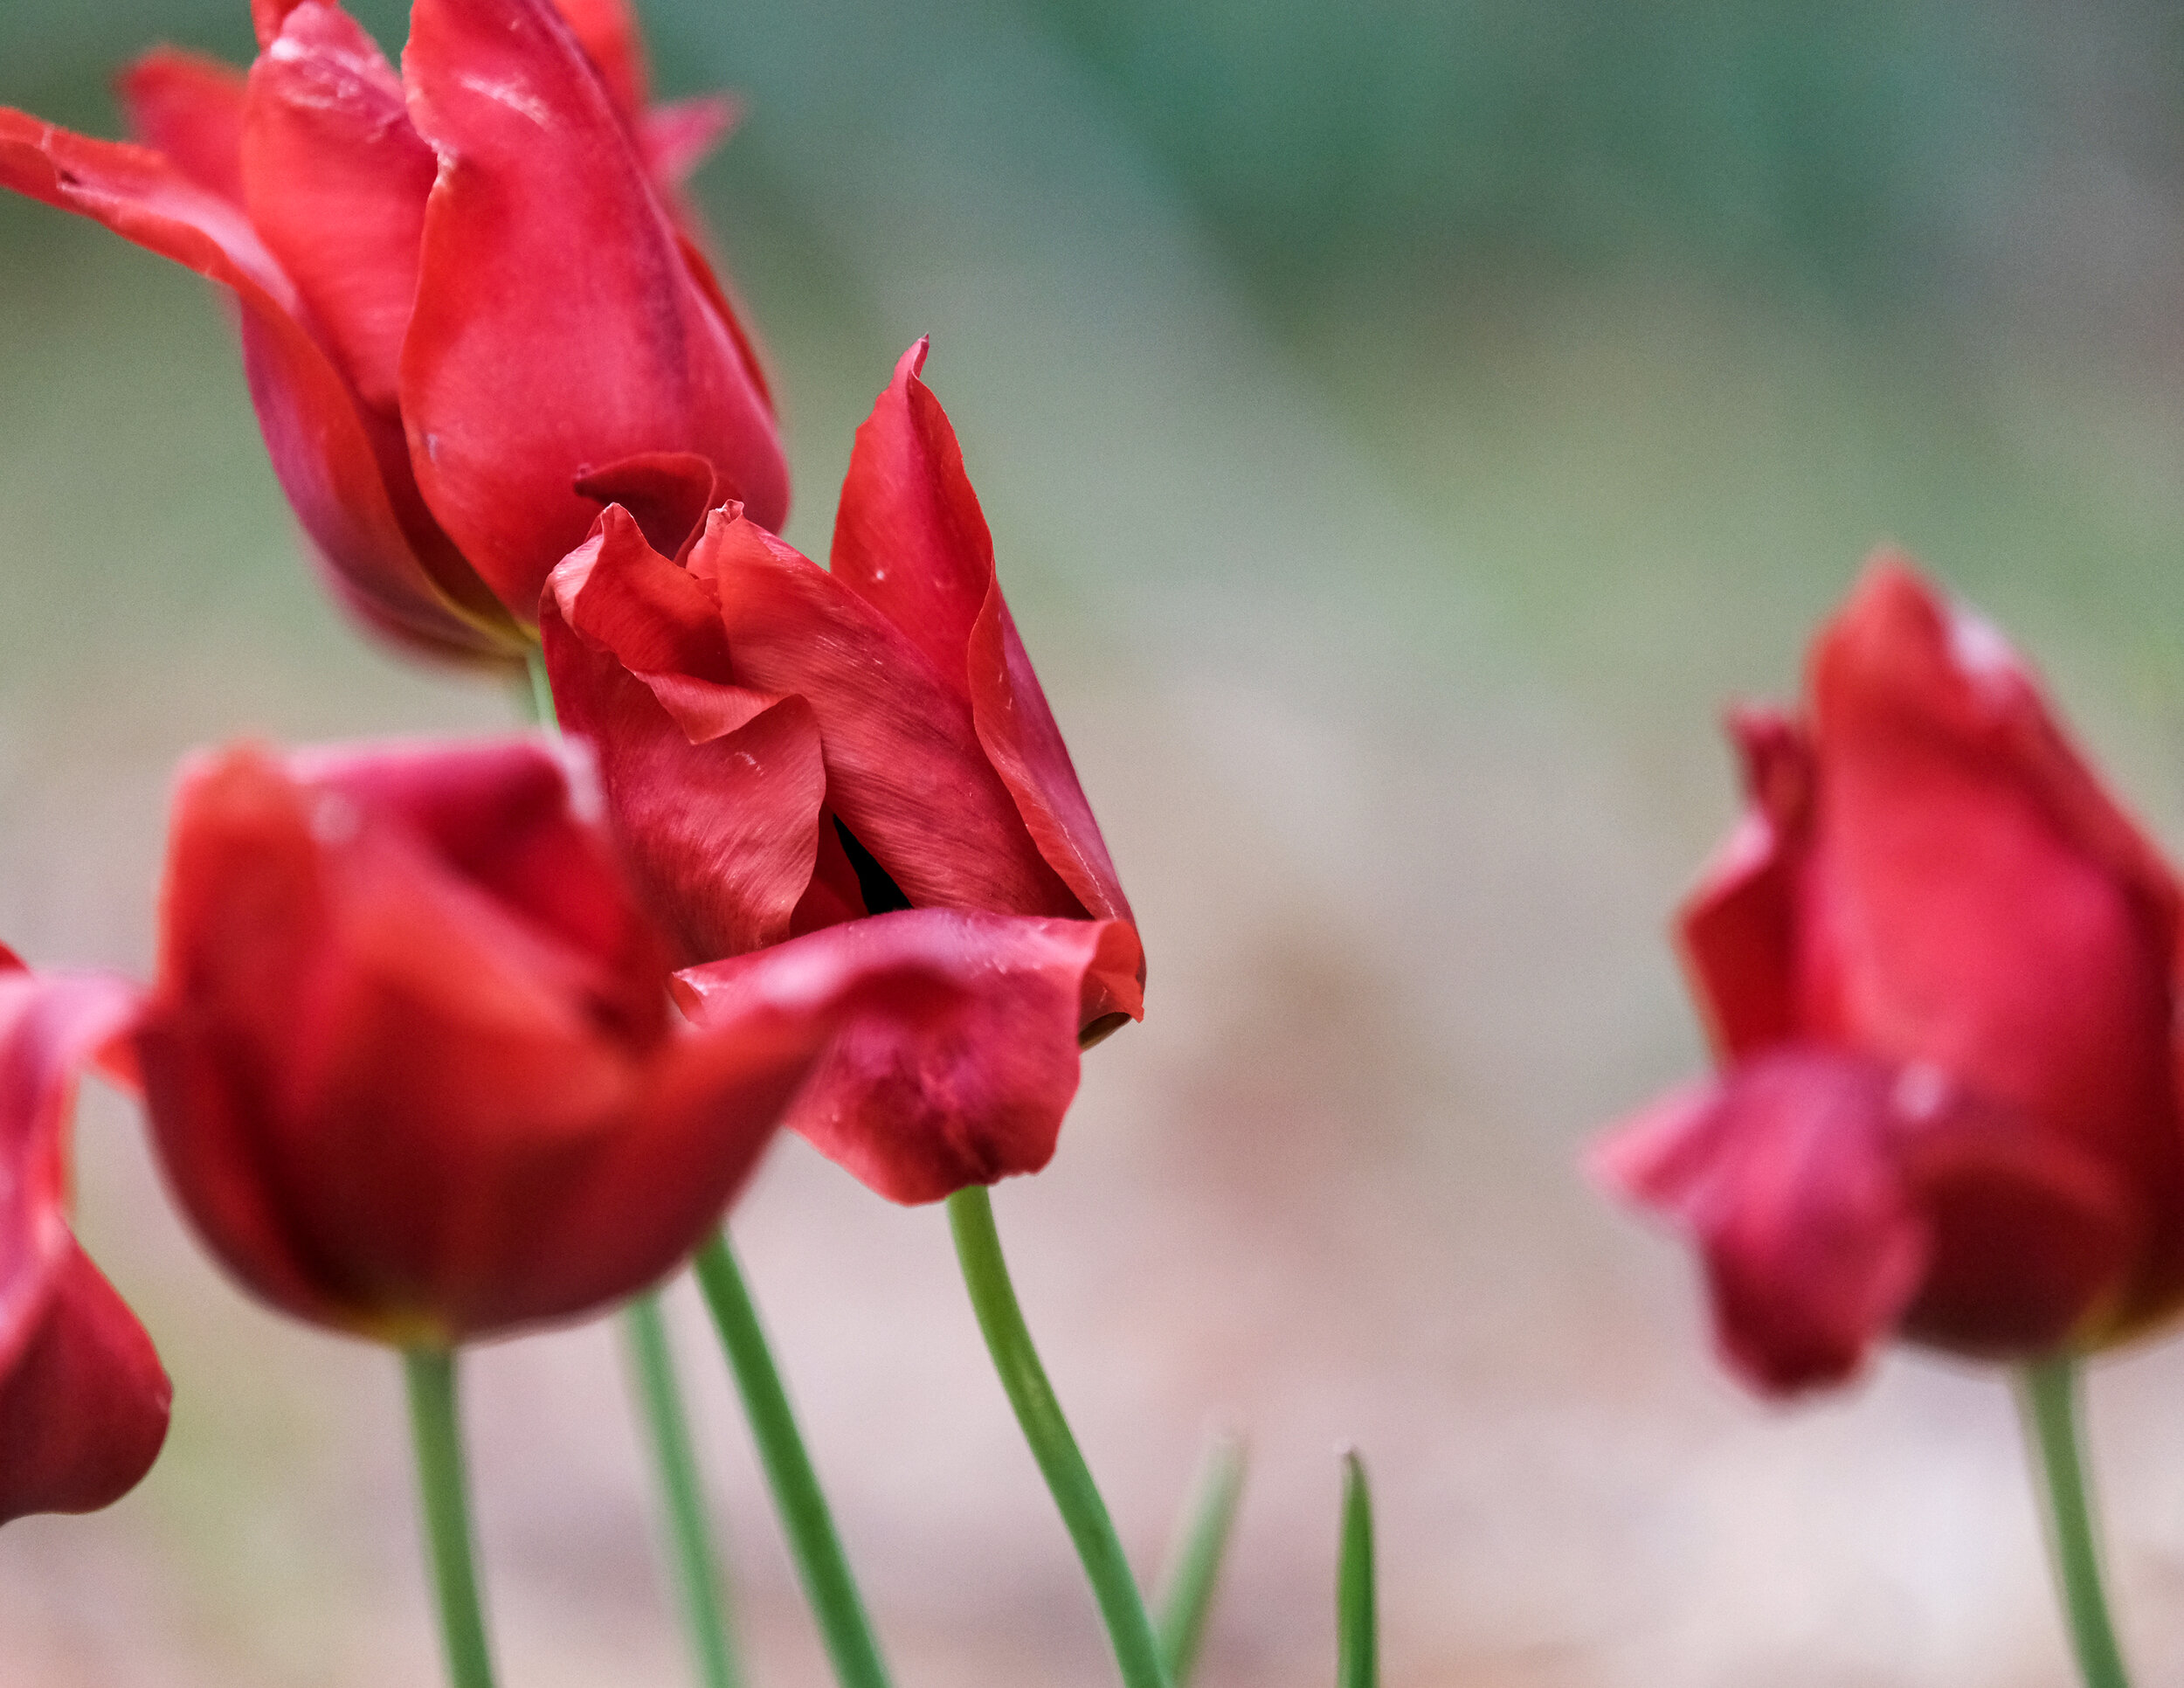
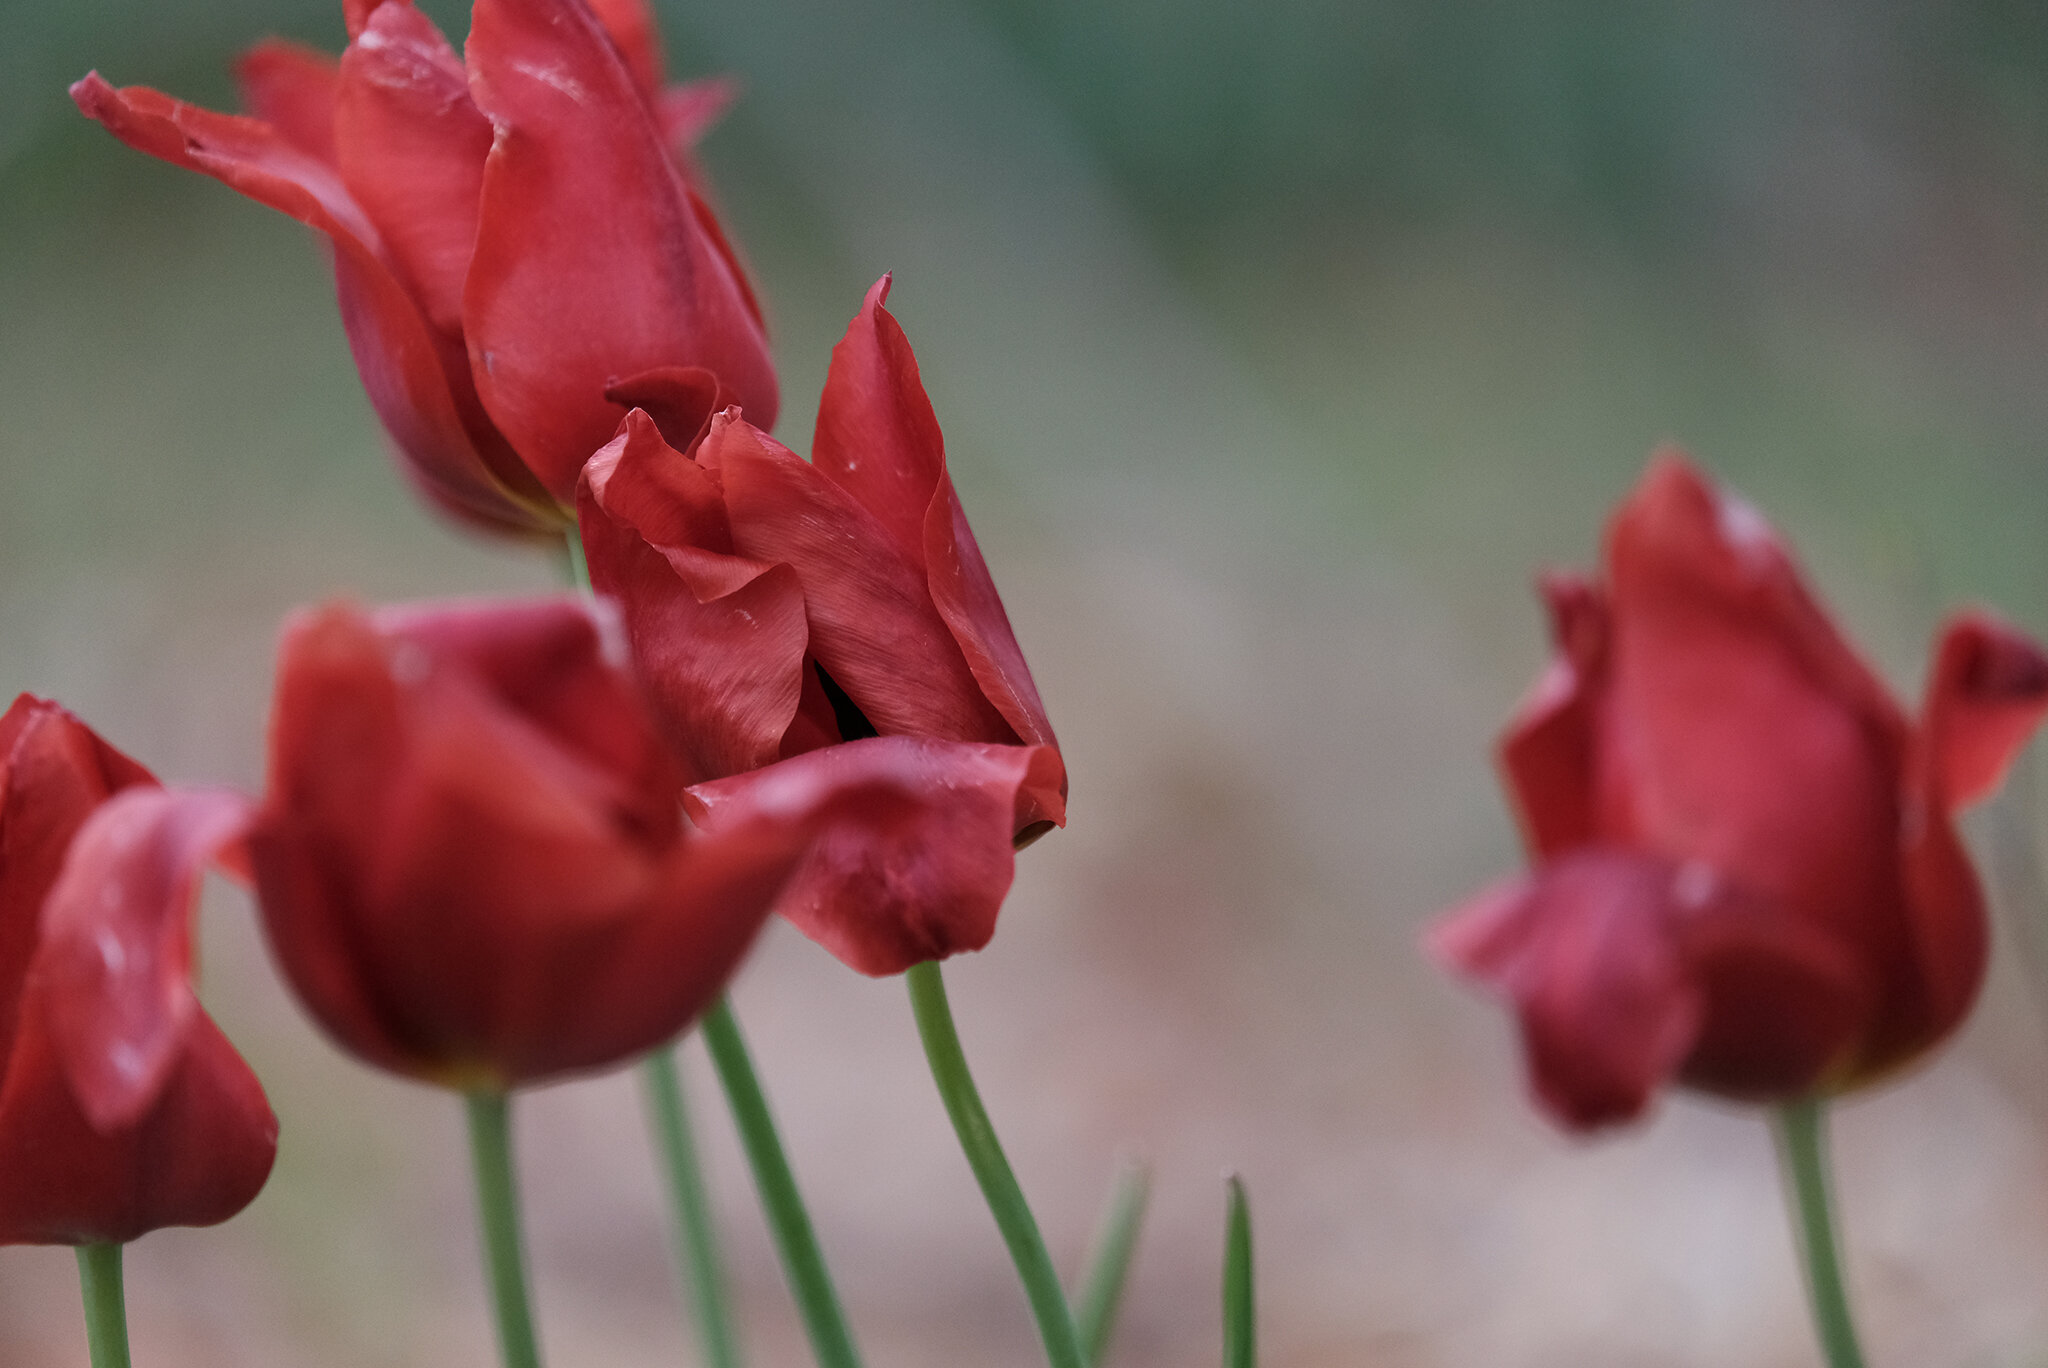
I took a long walk (longue marche) on a windy (venteux) and gray sky (ciel gris) day and I brought along my Fujifilm X-T20 as my companion.
The Fujifilm X-t20 is a great, lightweight cropped sensor mirrorless camera.
Because it is a mirrorless and very lightweight I am able to easily take it anywhere and when a photo moment happens I can capture high resolution images.
In this blog post I want to show you how just by keeping a few things in mind like subject and composition you can get beautiful photos.
I will show the final image and then the original so that you can see the adjustments; exposure, shadows, blacks, highlights, whites, vibrancy, clarity and cropping.


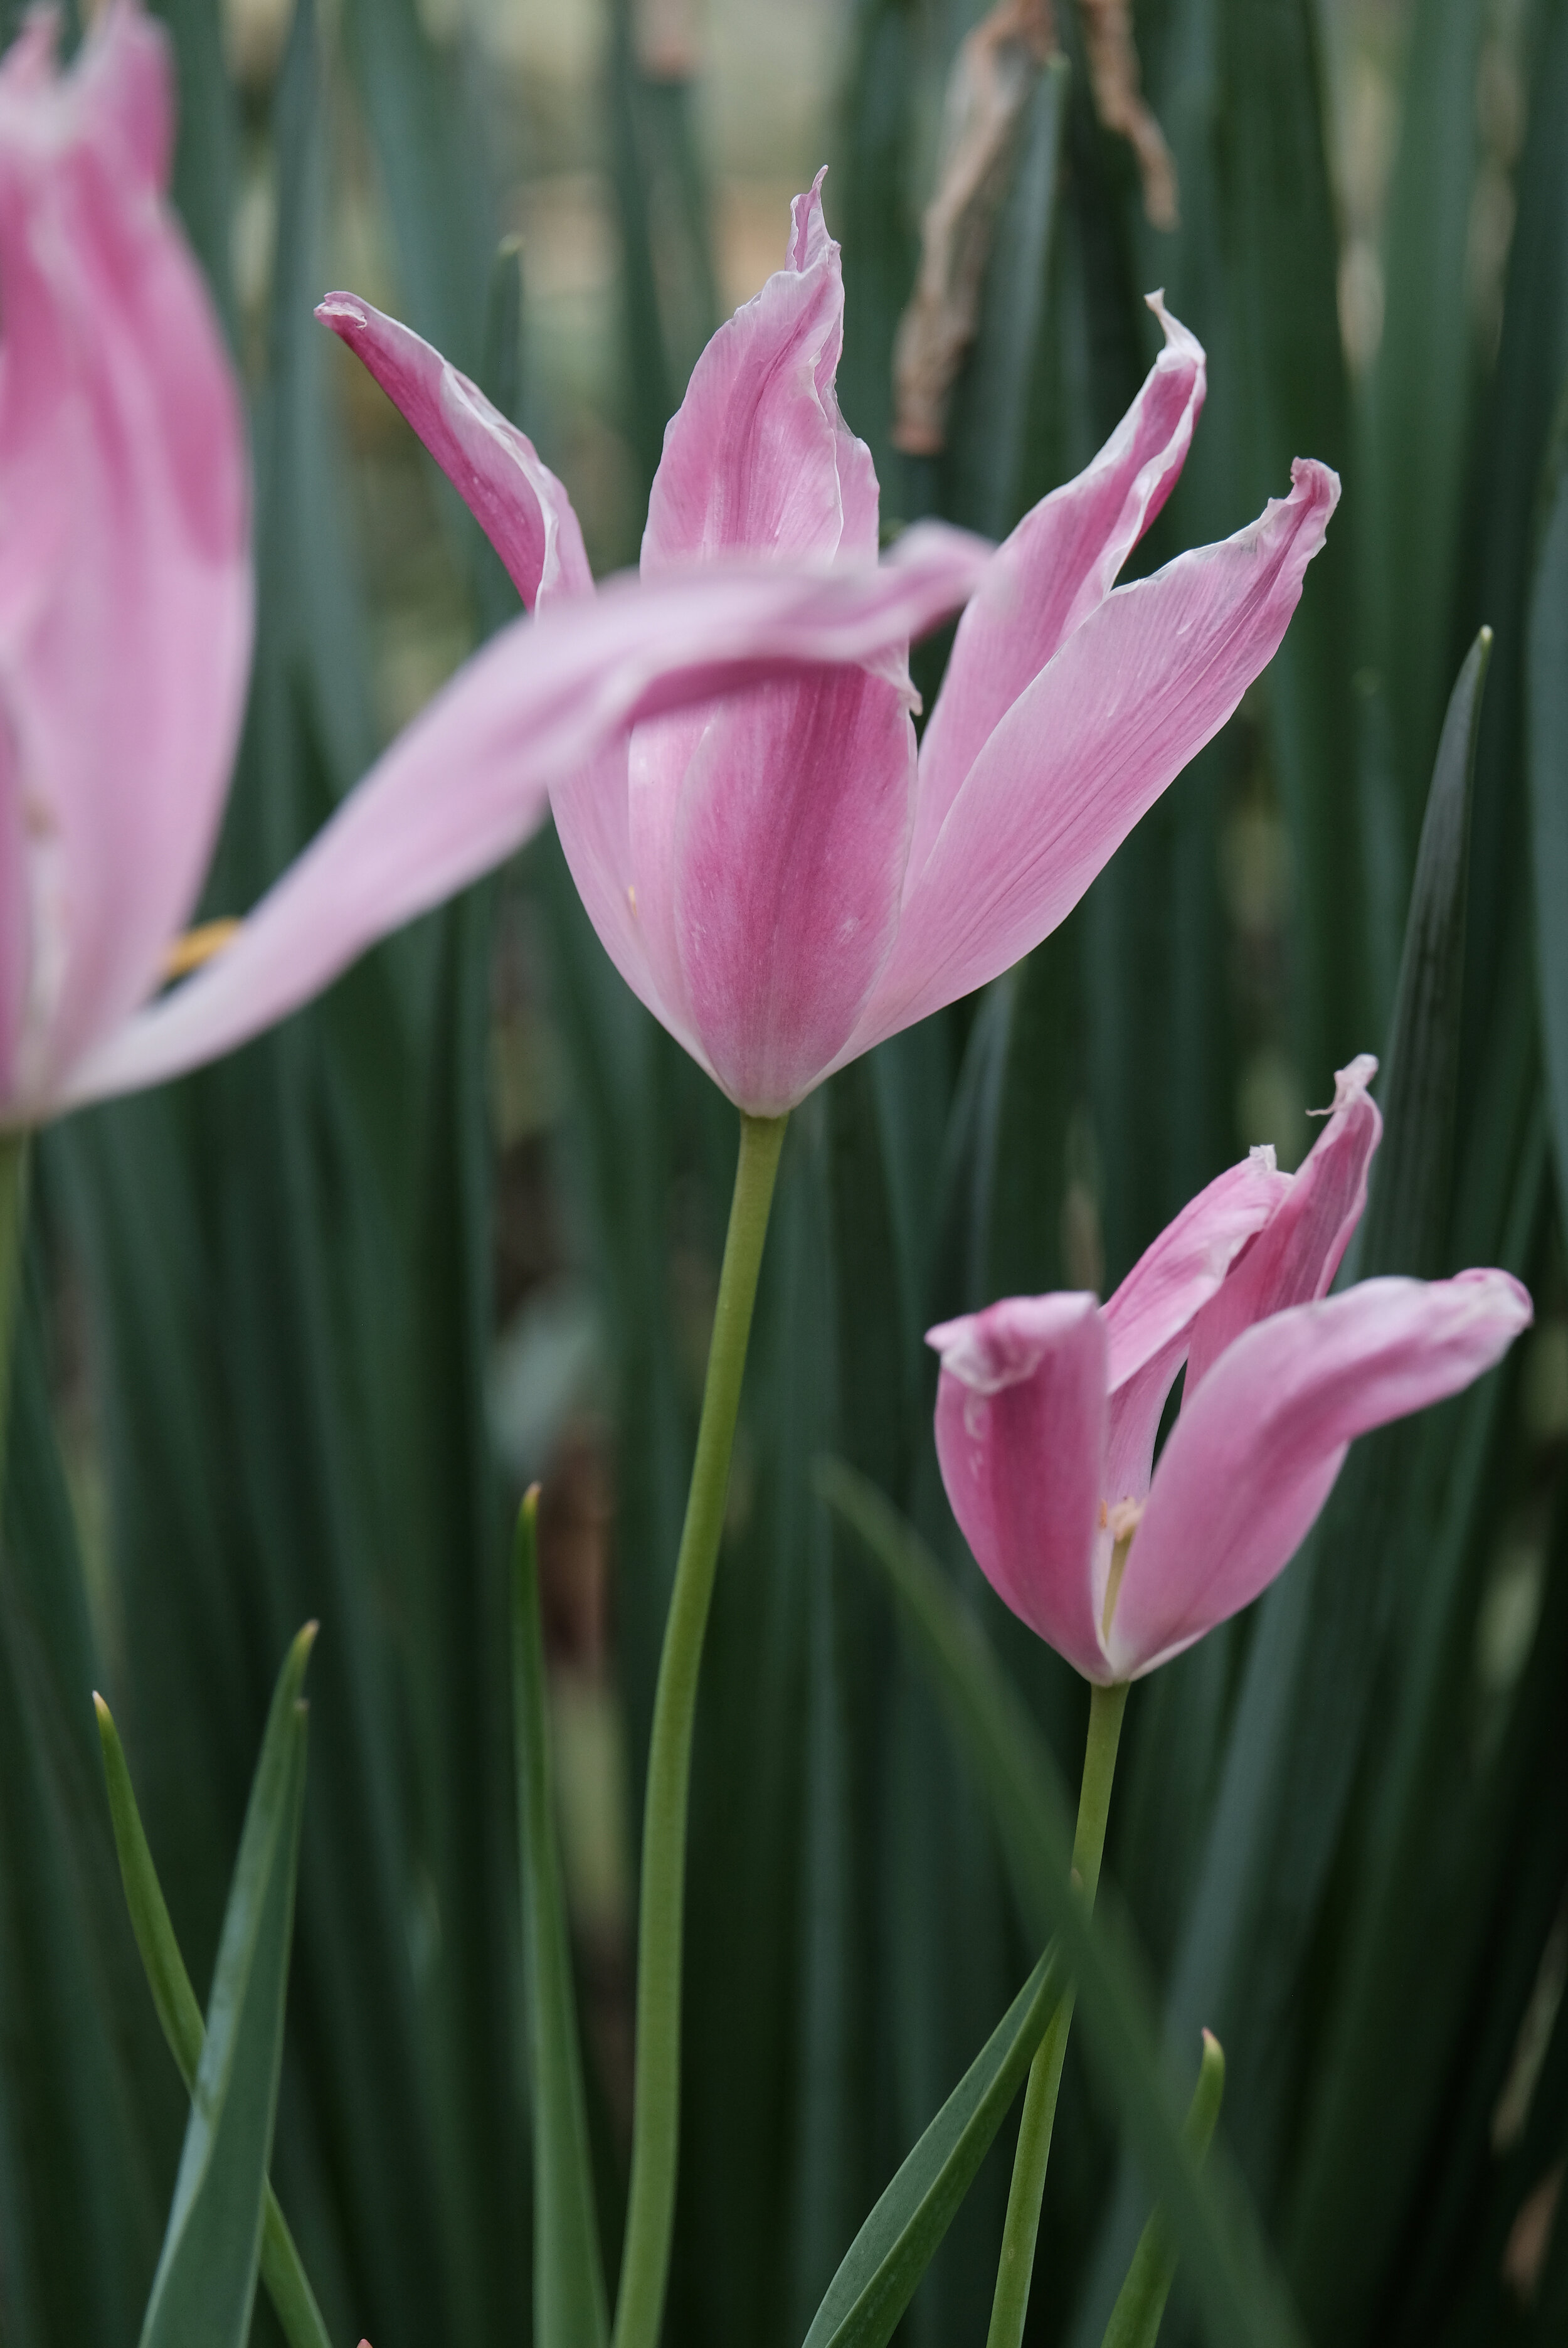
SETTINGS: It was a windy day so I used a fast shutter 500-1000 for sharp photos and I wanted detailed subjects so I had the aperture on 5.6 and I adjusted my ISO accordingly.
I shot on JPG. NOTE: When shooting in JPG format because of the compression of the photo there’s little wiggle room in editing the image.
FYI: when in JPG format the camera throws out a lot of the information creating a smaller file size, this process is called compression. NOTE: When you want to make sure you can bring in the details of the shadows and highlights and manipulate the colors you need to shoot in RAW.
The white balance on AUTO because the Fujifilm xT-20 does great with outdoor light and AUTO. Since it was a gray, cloudy day I chose to be on AUTO. If it had been sunny I would have used Daylight WB.
One of the best things you can do for your photos when shooting JPG format is to AJDUST the WHITE BALANCE. If it’s sunny use Daylight. This can make a huge difference in your colors, highlights and shadows.
Wanna check out the Photography Classes?
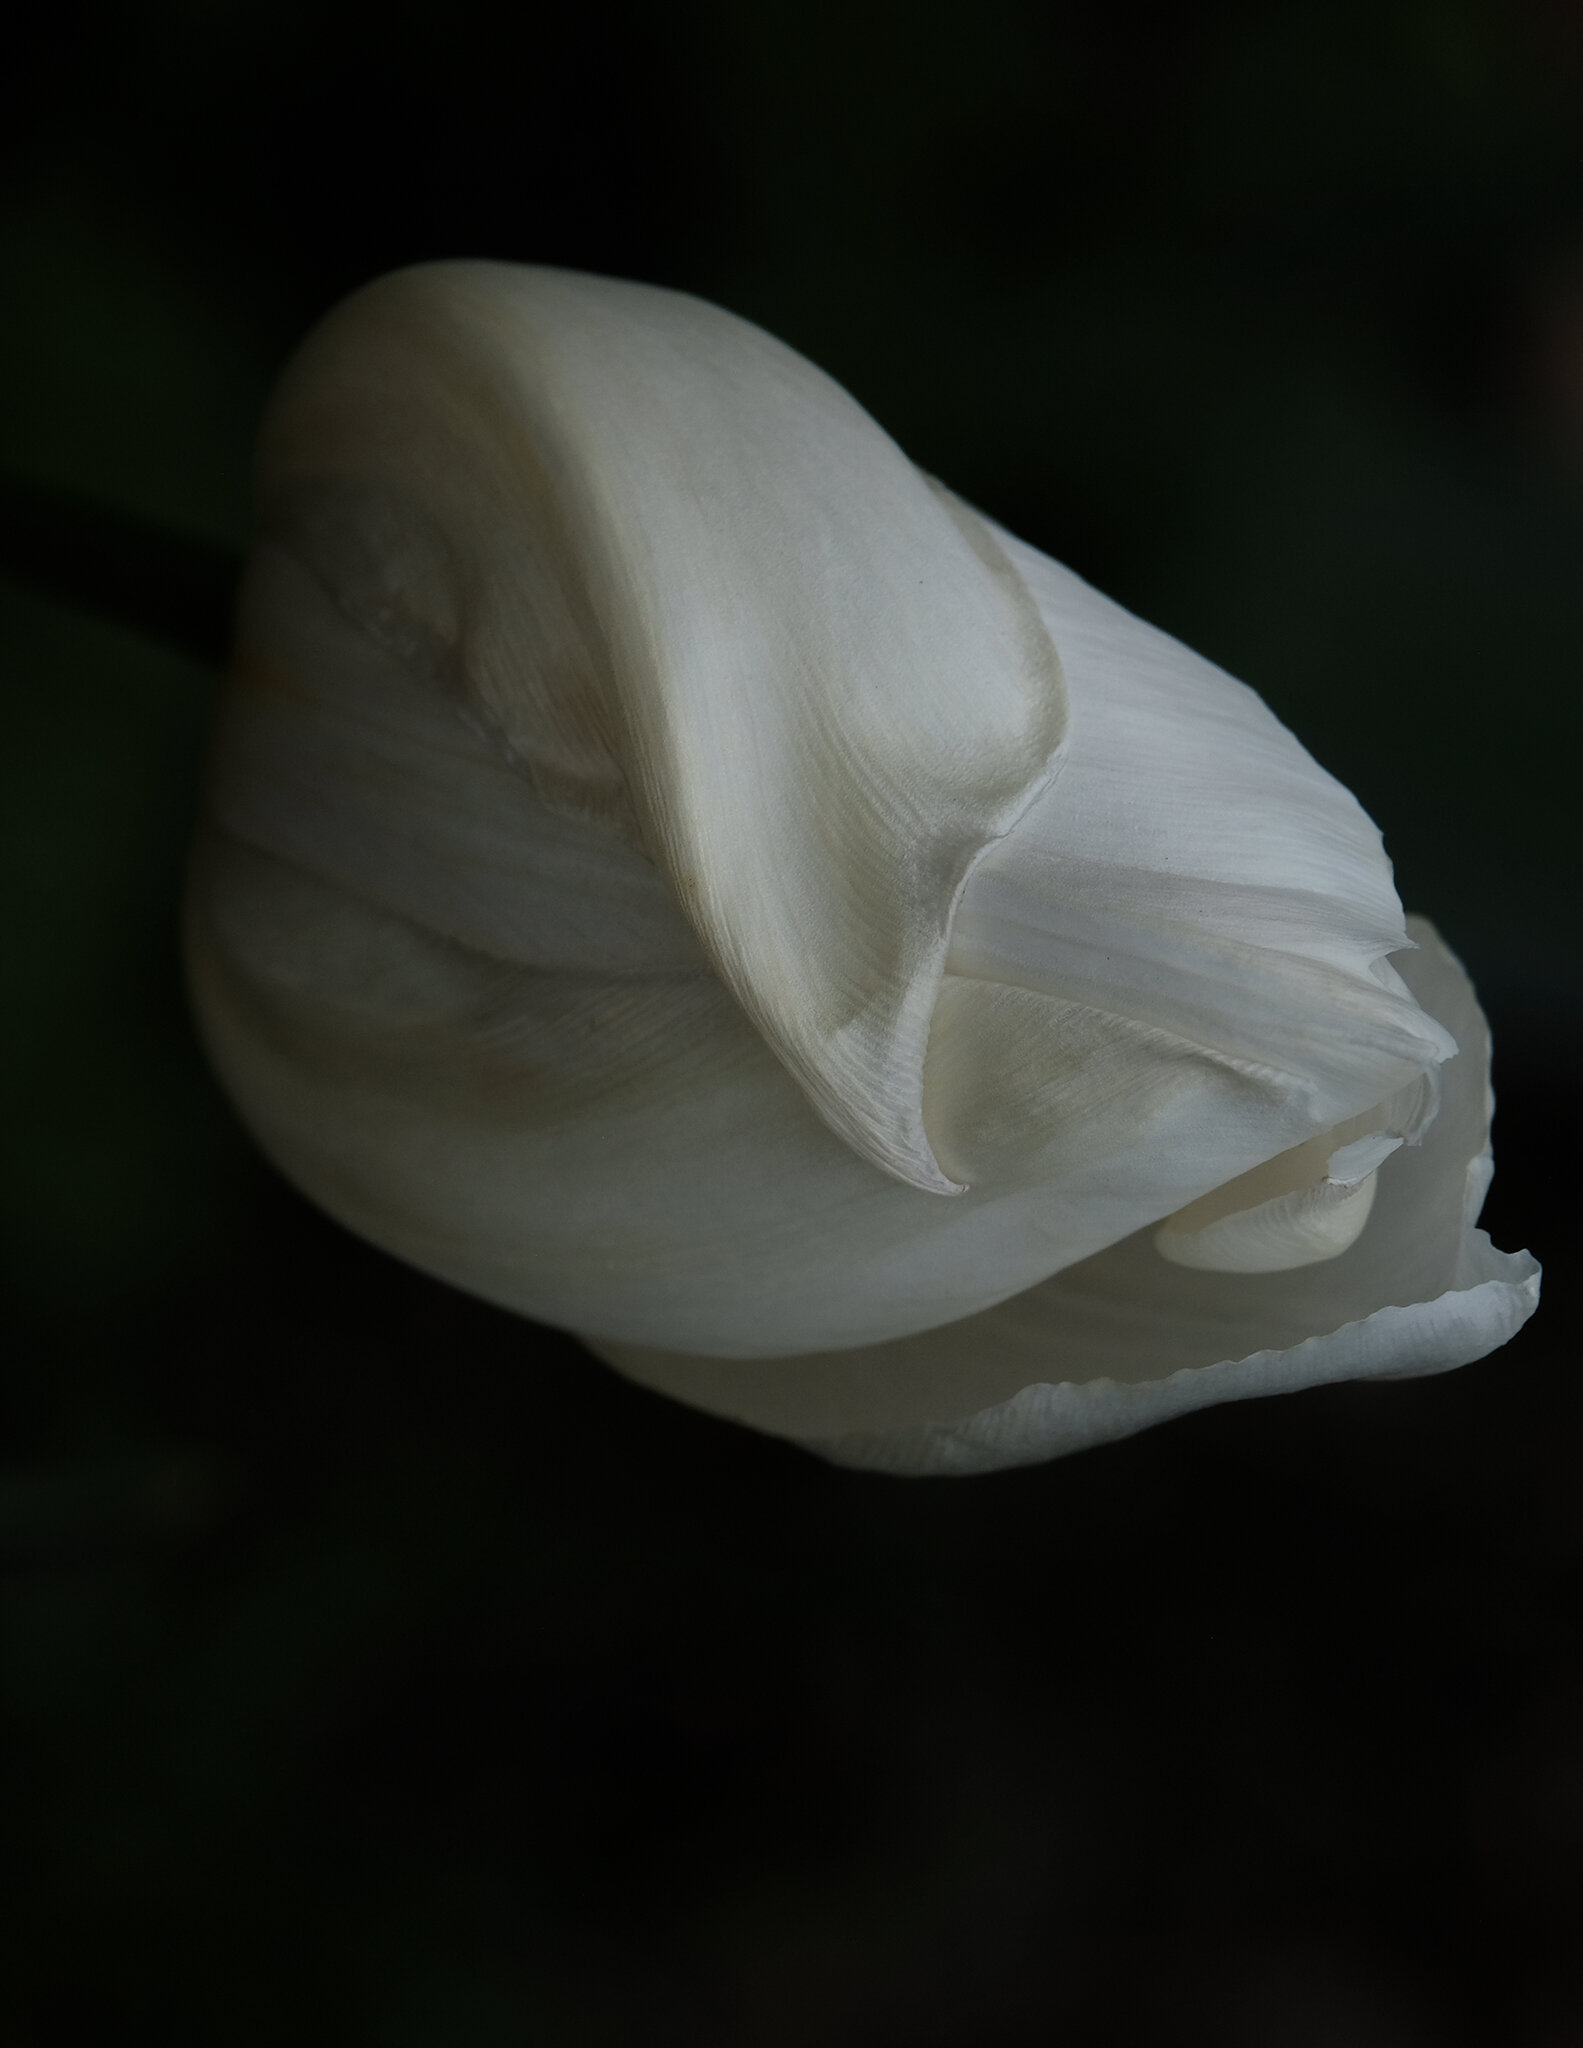
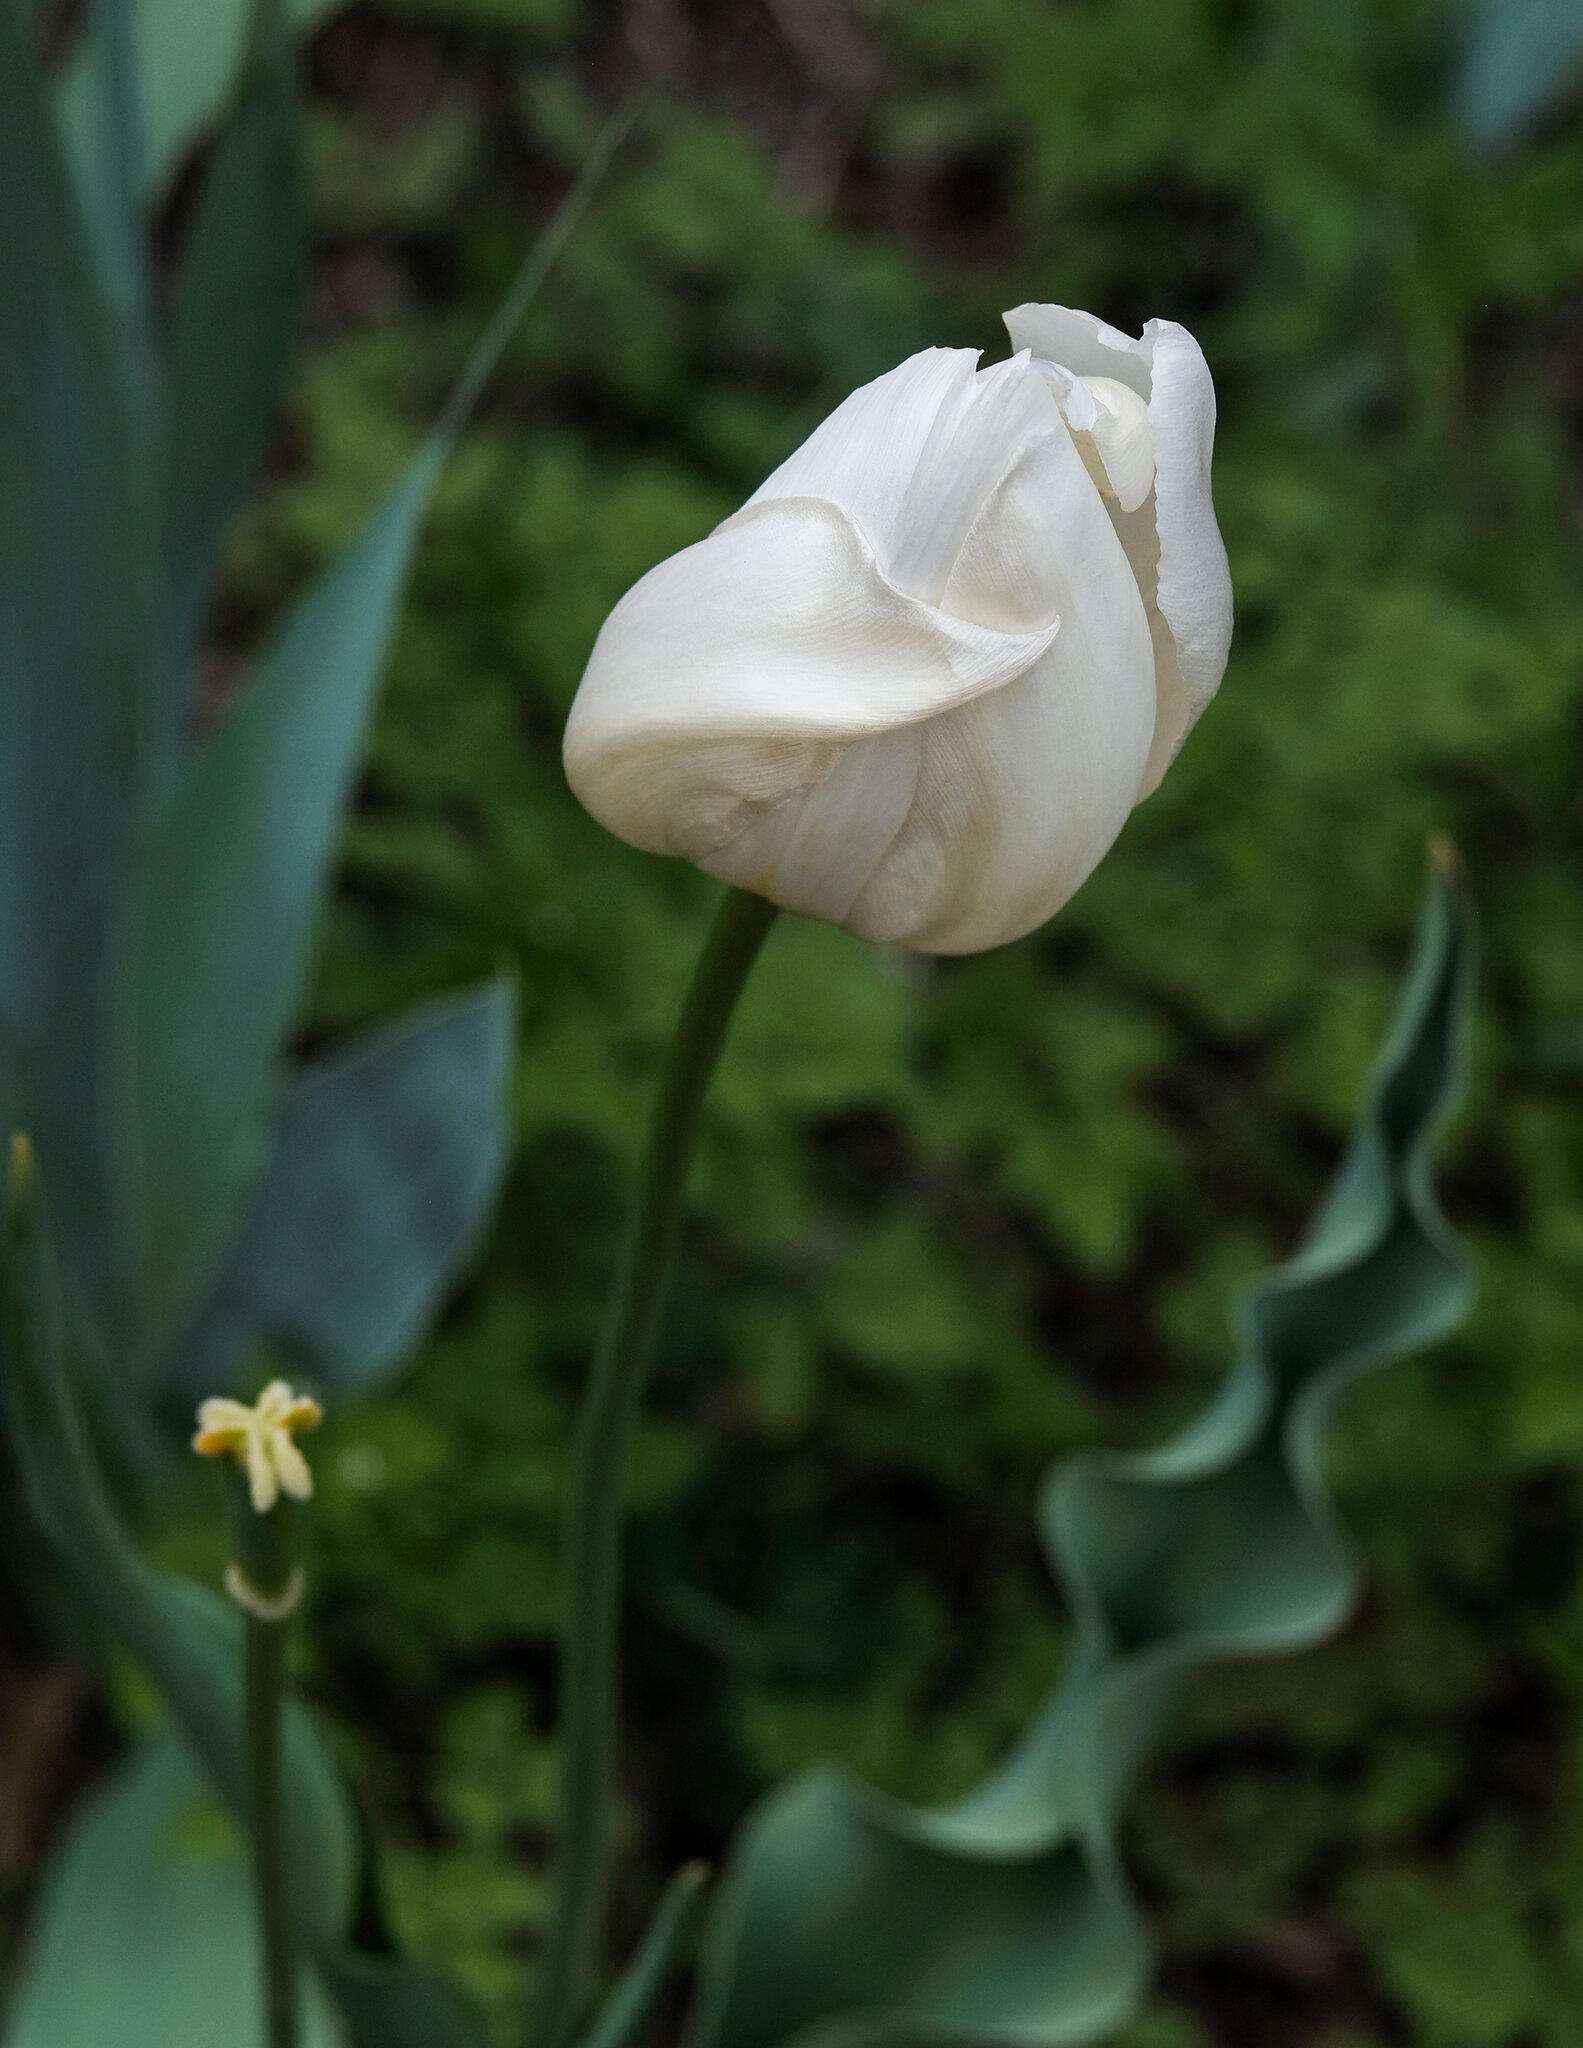
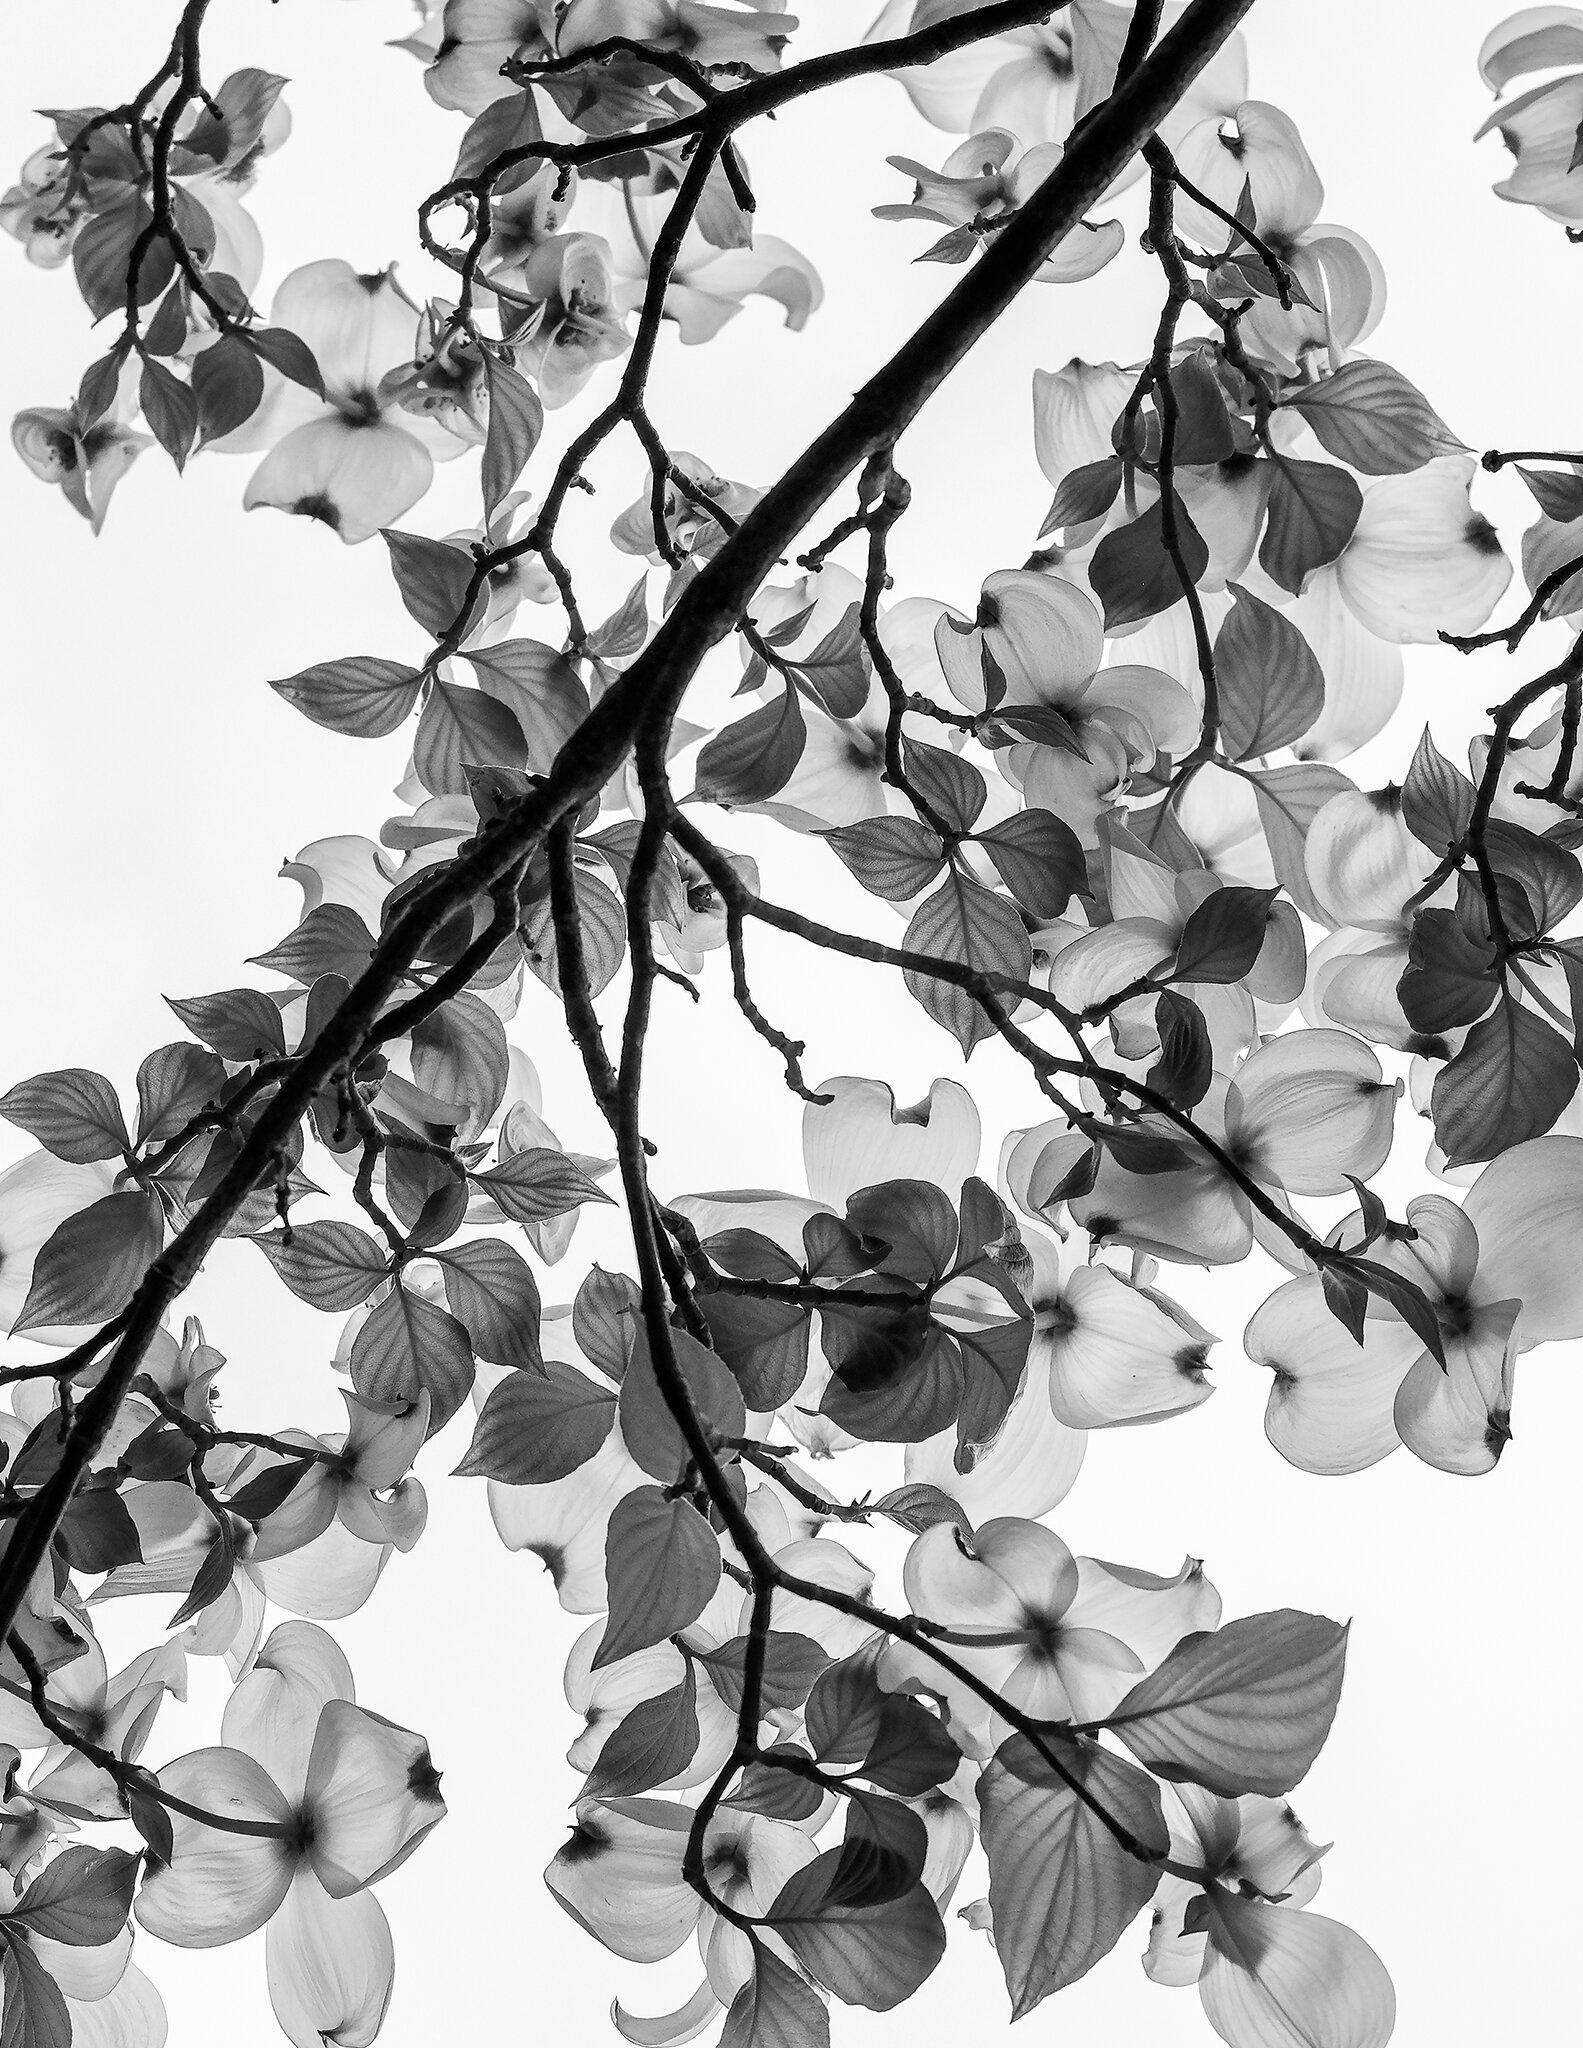
When I was taking this photo I saw in my mind the white bloom floating in darkness!
This photo has the most adjustments. Close up cropping, rotated to be horizontal in frame, adjusted exposure, shadows and highlights for texture. Black and white filter. Final adjustment clarity for detail.

This is the original JPG.
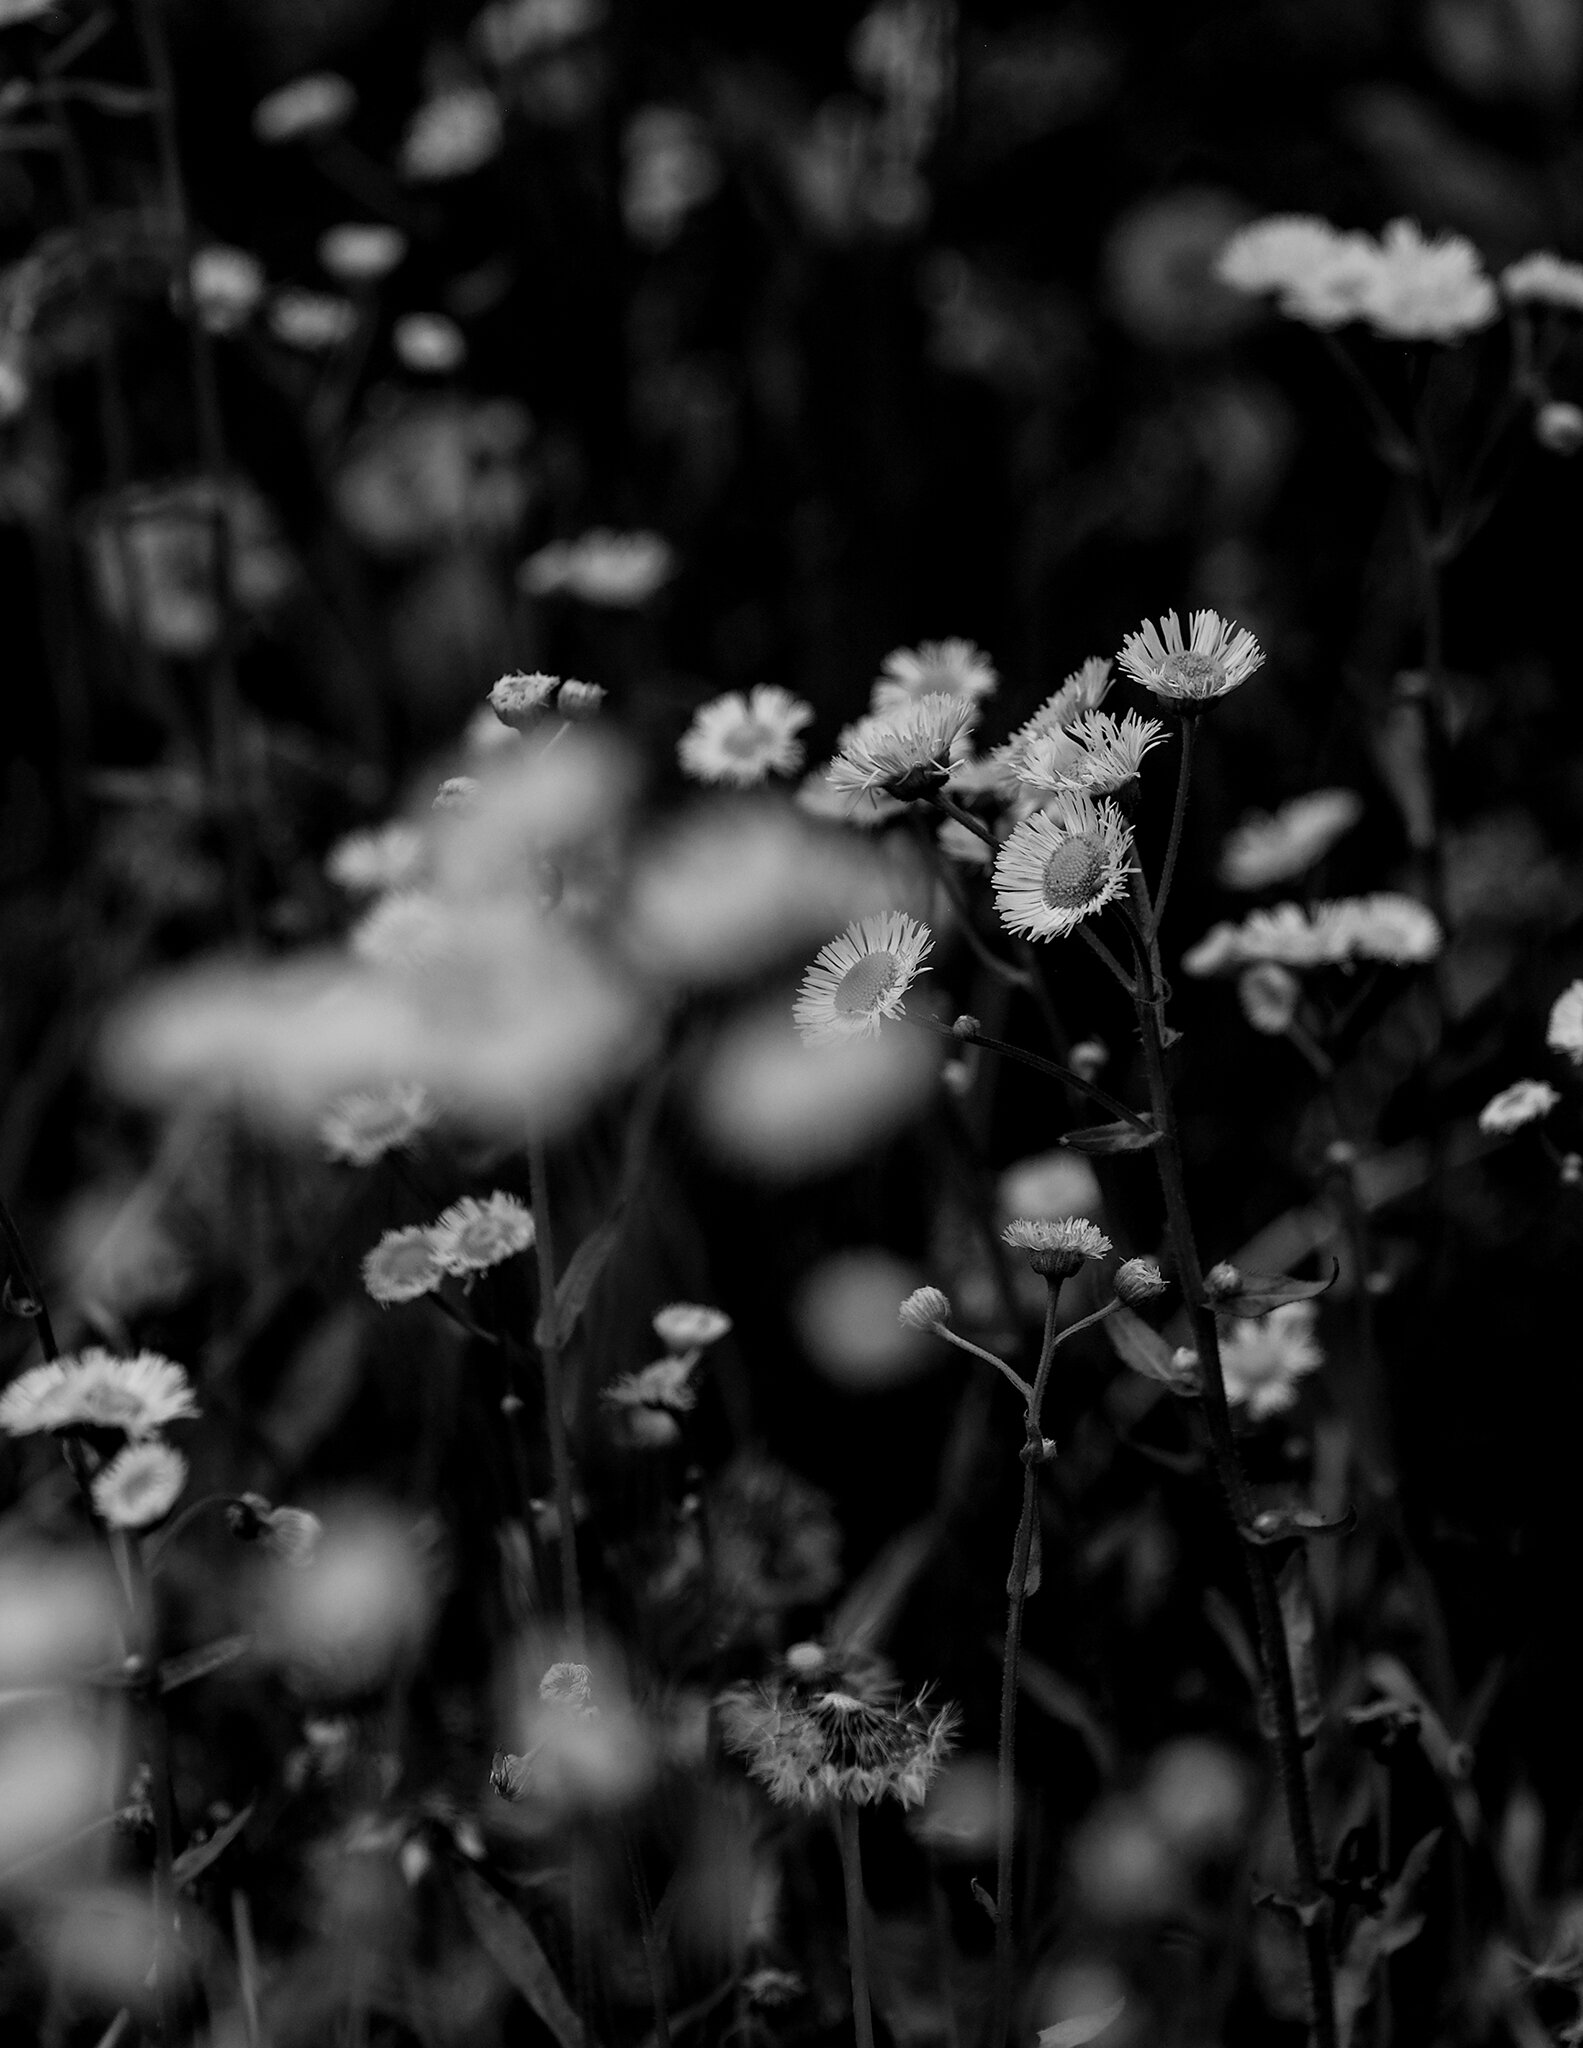
I always photograph in color and then convert to b&w in post so that I have both versions. Unless I am purposely challenging myself to shoot only in monotone. This is a great way to train your eye to see photos that will look best in b&w.

I cropped into it, rotated it to be vertical, adjusted the shadows, highlights, contrast, turned it black and white and then used clarity.
I thought it might be good to give you some TIPS on the adjustments you can make with a JPG file.
1) Remember to set your White Balance accordingly.
2) SHARPEN You can lightly sharpen jpgs or use the clarity slider. FYI I’ve noticed that most camera manufactures actually have a sharpening filter applied to JPG and RAW files.
3) CONTRAST Using the contrast slider can make a big difference in your lights and darks.
4) SATURATION A light touch on saturation in post.
NOTE you can also adjust and set these settings in camera Sharpness, Contrast, Saturation and other adjustments just be aware that if you set them in the camera menu, once you take a photo it will be almost impossible to change them in post.
This is why I prefer to change my adjustments in Photoshop.

Inspiration
is everywhere